Surgical Instruments
Recognise Them. Understand Them. Use Them Right.
Learn surgical instruments through biomechanical reasoning, not memorisation — grouped by function, with real theatre context, so you know exactly when and why each tool is handed to you.
Instruments Are a Language — Learn to Read Them
Proficiency in recognising surgical instruments instantly is what separates a confident theatre assistant from a hesitant one. Quick, correct recognition isn’t a party trick — it’s a direct signal of competence that builds the whole team’s trust in your judgement under pressure.
Every instrument on a tray is designed for a precise mechanical interaction with tissue — cutting, grasping, clamping, retracting, or suturing. Reaching for the wrong tool doesn’t just waste seconds; in a live operative field, it can compromise patient safety. Understanding *why* an instrument is shaped the way it is makes recognition automatic instead of memorised.
How to Actually Learn These — Not Just Stare at Photos
Flipping through a gallery of instrument photos rarely sticks. Use this four-step approach instead, every time you study a new instrument or see one on a tray.
Identify the Tip
Is it sharp, blunt, toothed, serrated, curved, or straight? The working tip tells you the instrument’s job before you even know its name.
Name the Function
Cut, grasp, clamp, retract, or suture — every instrument fits one primary category. Sort by function first, name second.
Place It in the Step
Which exact moment of the operation calls for this tool? Incision, haemostasis, dissection, closure — anchor each instrument to a real surgical step.
Compare the Lookalikes
Mosquito vs Kelly, Metzenbaum vs Mayo — most exam and theatre mistakes come from confusing near-identical instruments. Always study them in contrasting pairs.
Jump to a Category
Cutting & Dissecting Instruments
Sharp or curved-blade tools that separate tissue along planned planes

The primary incision instrument — a detachable blade locked onto a reusable handle. Blade number (e.g. 10, 11, 15) is chosen for the tissue and incision type.
Long, fine, curved blades designed for delicate blunt and sharp dissection of soft tissue — lighter and more delicate than Mayo scissors.

Heavier, blunter-tipped scissors than Metzenbaum — built for cutting tougher tissue and suture material rather than fine dissection.
Grasping & Holding Instruments
Tools that secure, stabilise, or manipulate tissue without cutting

Fine interlocking teeth at the tip grip tissue firmly with minimal slippage — used where a secure but small-area hold is needed.

Flat, ridged gripping surface without teeth — applies even pressure across a wider area without puncturing delicate tissue.

Wide, fenestrated, curved jaws that distribute grip pressure over a larger surface area — far gentler than standard clamps.
Clamping & Haemostasis Instruments
Locking jaws that occlude vessels or tissue to control bleeding

The smallest of the haemostatic clamps — fine, delicate locking jaws built for the smallest bleeding vessels without crushing surrounding tissue.

Larger and sturdier than mosquito forceps — ridged jaws (longitudinal in Kelly, full-length in Crile) for occluding bigger vessels and tissue bundles.
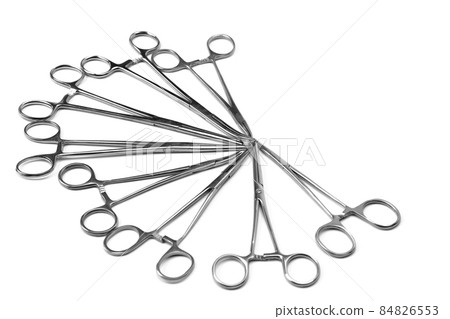
Short, sturdy locking jaws with a tungsten-carbide insert that grips a curved suture needle firmly without letting it rotate mid-pass.
Retracting Instruments
Tools that hold tissue or wound edges aside to maintain a clear surgical field

A simple hand-held, right-angled blade retractor — manually adjusted by an assistant to hold back skin and superficial soft tissue.

A ratcheted or screw-locked frame that holds itself open once set — frees up an assistant’s hands during longer procedures.

A double-ended hand-held retractor with shallow blades on both ends — simple, versatile, used constantly for superficial wound retraction.
Suturing & Closure Instruments
Tools used to approximate and close tissue at the end of a procedure

Comes swaged onto suture material in varying curvatures (e.g. 3/8 circle) — the curvature lets the needle re-emerge predictably through tissue.
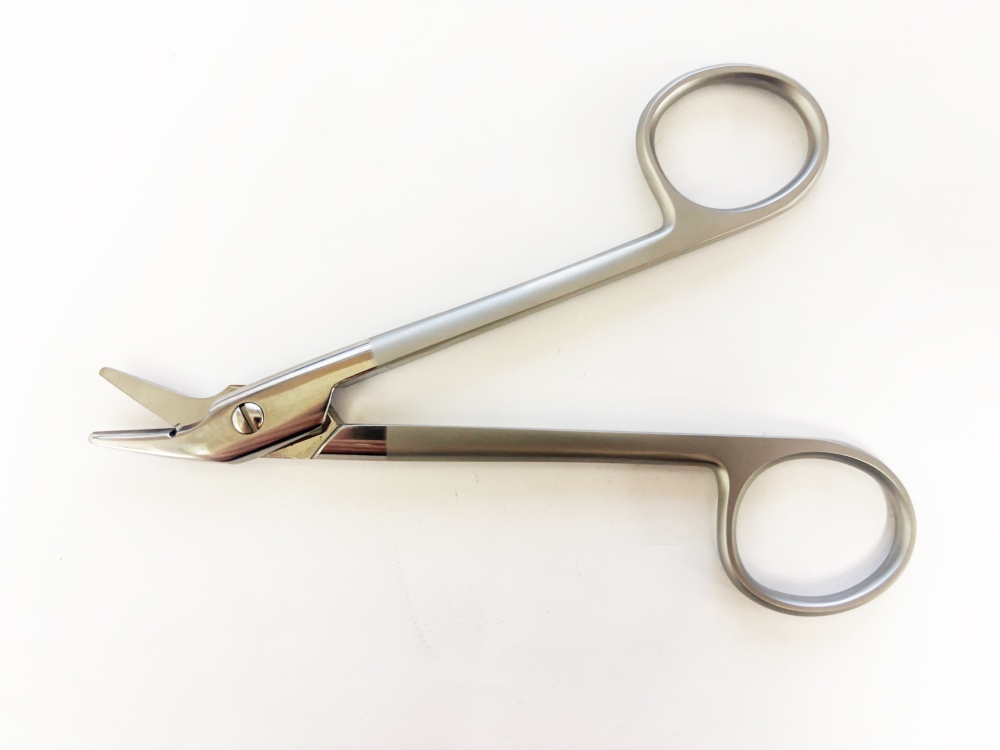
Short, sturdy, often slightly blunt-tipped scissors used purely for trimming suture ends — not for tissue dissection.

A mechanical device that places evenly spaced metal staples across a wound edge — faster than hand-suturing for long skin incisions.
High-Yield Recall — Instrument Recognition Checklist
🔧 Surgical Instruments — Must Know for Theatre & OSCE
- Sort every new instrument by primary function first — cut, grasp, clamp, retract, or suture — before learning its name
- Toothed forceps grip small areas firmly (skin); non-toothed forceps spread pressure gently (bowel, vessels)
- Mosquito forceps = smallest vessels. Kelly/Crile = larger vessels and pedicles. Same family, different scale
- Metzenbaum scissors = delicate tissue dissection. Mayo scissors = tougher tissue and suture cutting — never confuse the two
- Self-retaining retractors free the assistant’s hands; hand-held retractors (Langenbeck, Army-Navy) require continuous manual control
- Needle holders have a tungsten-carbide insert — never use a haemostat as a substitute, it damages the needle grip
- Always pair the instrument with the surgical step in your memory — incision, dissection, haemostasis, retraction, closure
- For OSCE and theatre confidence, practise naming instruments by silhouette alone, without seeing the full label
Want Hands-On OSCE Confidence?
Instrument recognition is just one mandatory OSCE skill. Get the full NRE Step-2 station breakdown — checklists, examiner expectations, and mock CSE coaching.
Full lectures · Station checklists · Mock CSE coaching · Telegram group